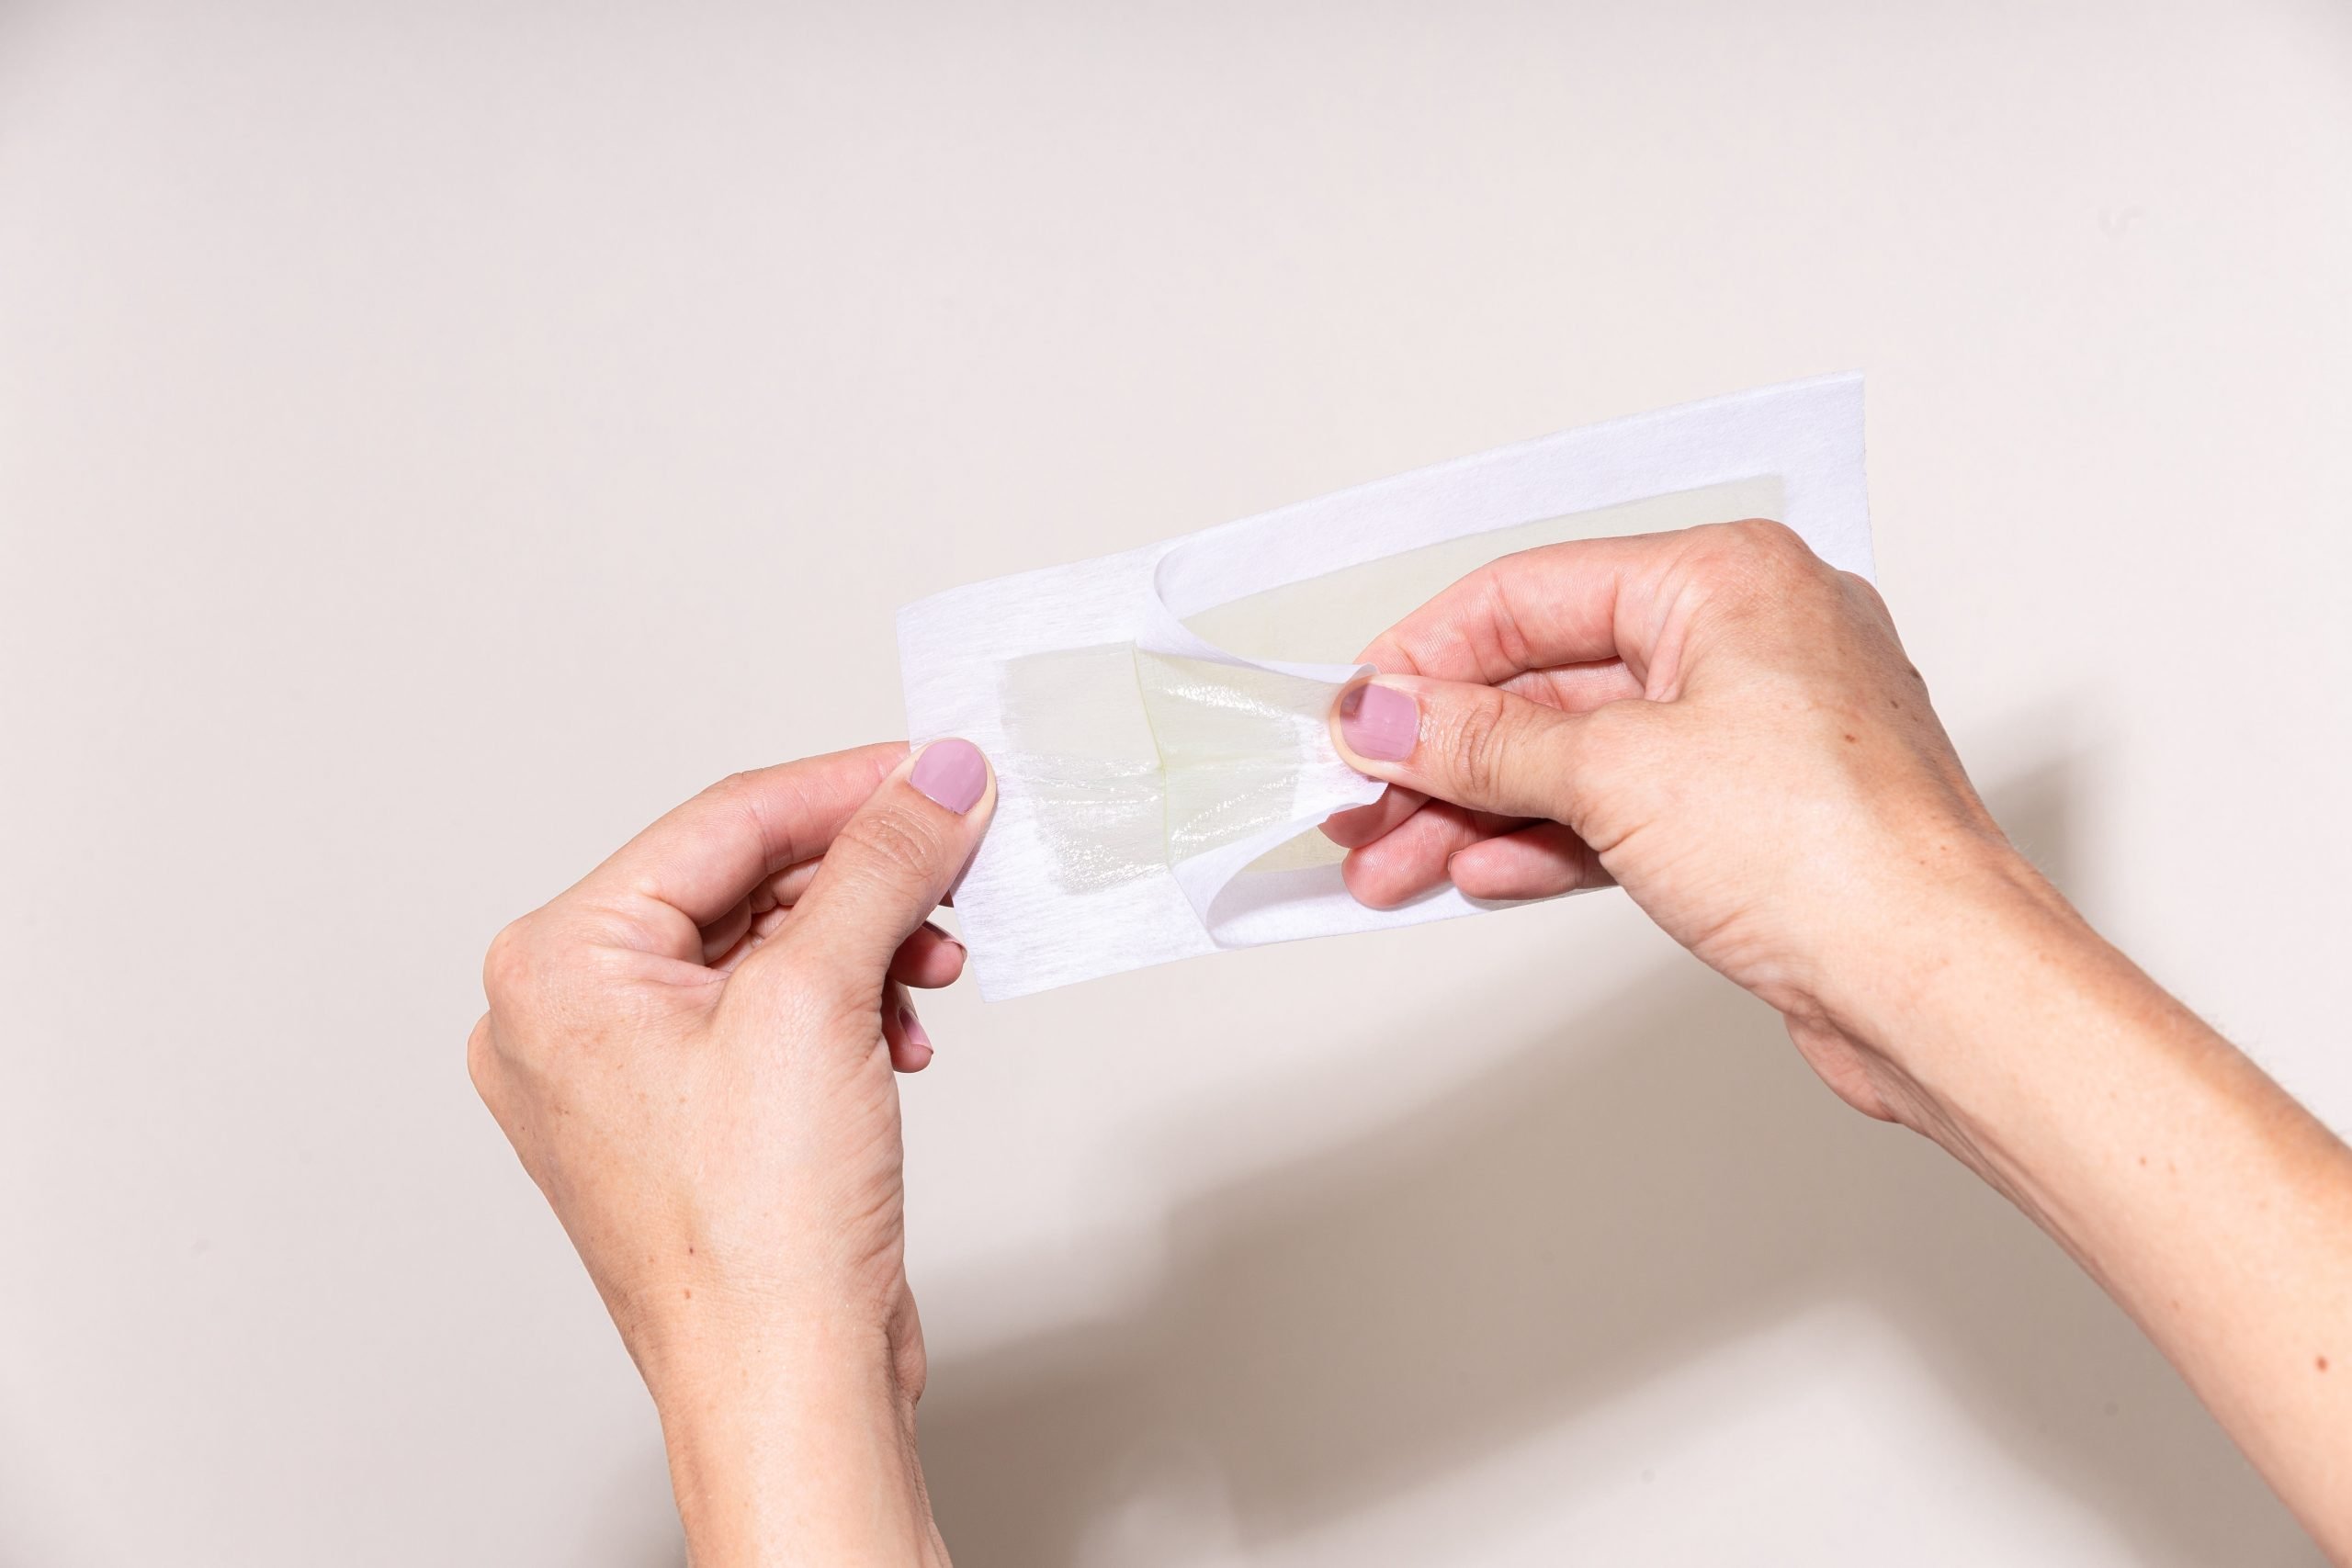
Body and facial hairs can become a nuisance if they regrow frequently and excessively. Not only the hair pores trap oil, sebum, and dirt but also serve as a perfect breeding ground for mosquitoes. In fact, it is due to the presence of these dermal hairs that your skin colour darkens further, causing a hideous look. This is why hair removal is important, especially via home remedies as they are less expensive and can be done at your convenience.

Out of several hair removal home remedies, it is the DIY wax strips which have become most popular in the recent time. Rather than visit a professional salon for a waxing session, you can do the same at your home and get smooth, and fairer skin.
If you are not aware of how to prepare or use the DIY wax strips at home, do not worry any further. Here, in this forthcoming discussion, we will discuss everything you need to know about this hair removal technique that one can avail any time at home without any professional help.
What types of waxes can be used at home?
Several different types of wax preparations are there which you can make at your home with ease. As a particular type of wax strip preparation is not suitable for everyone, here, we have discussed some of the waxing solutions you can try at home.
1. Hard wax
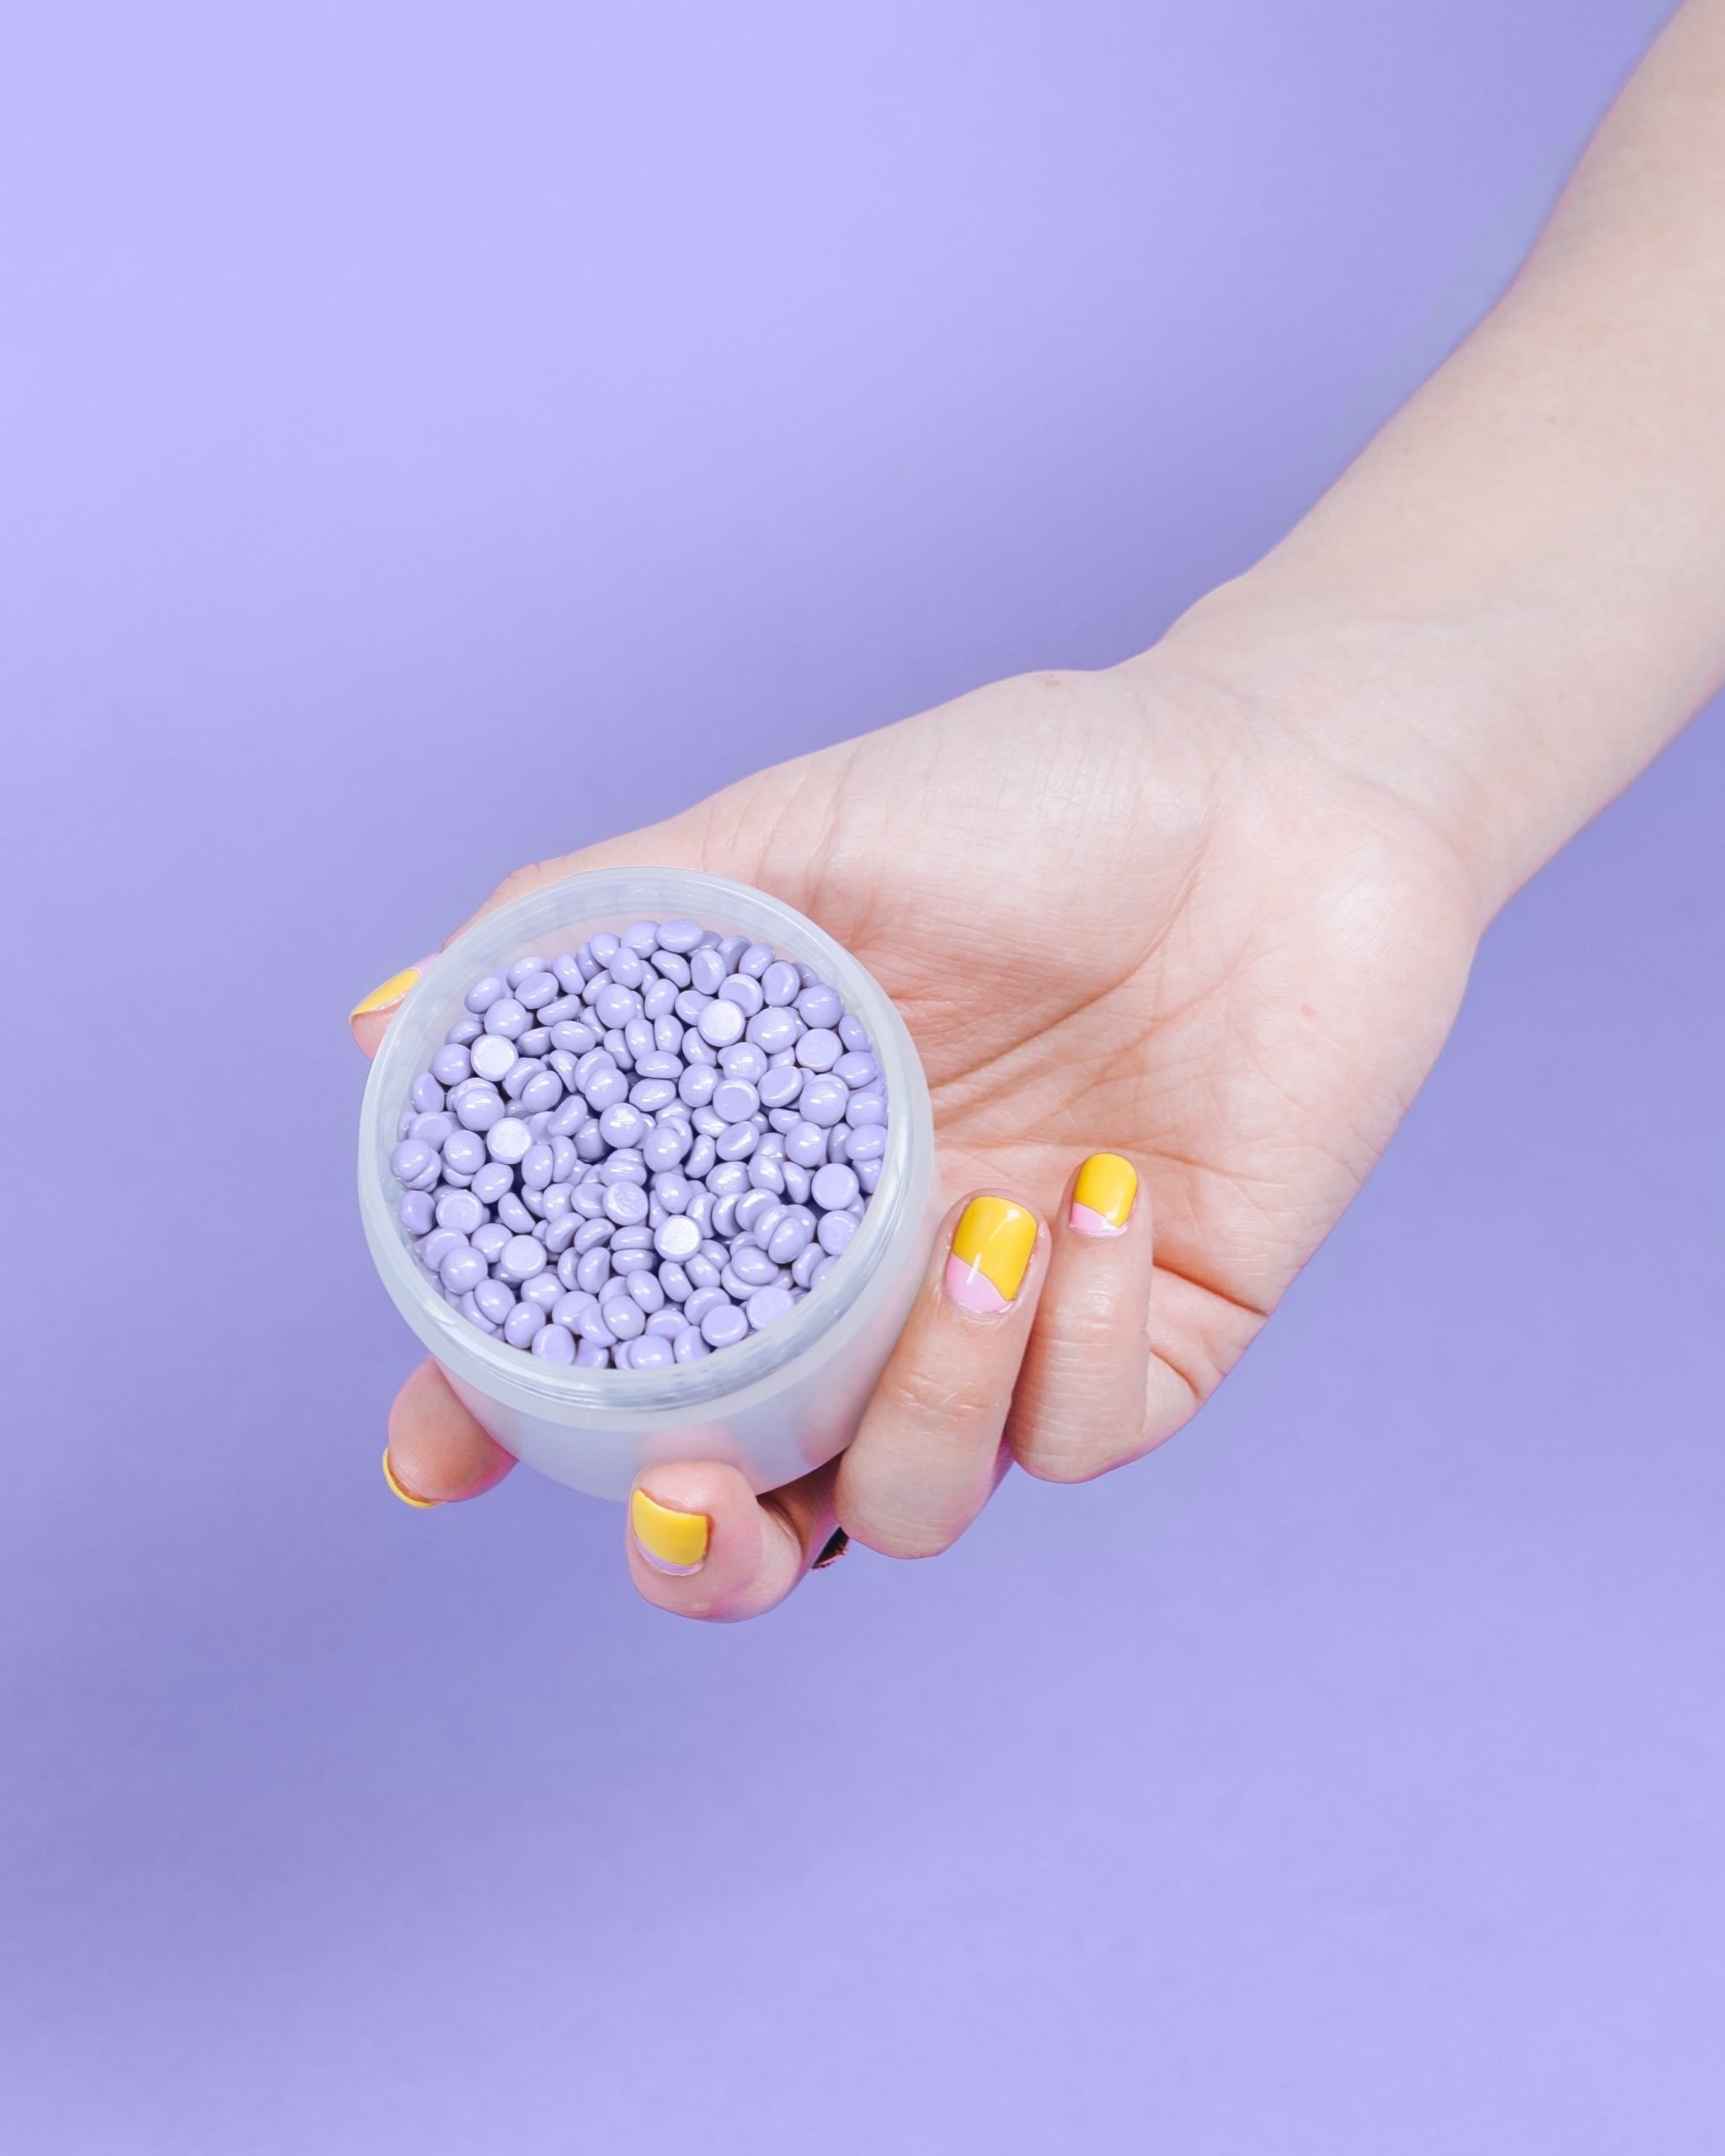
Even though hard wax doesn’t need additional removal strips, you can use them to lessen the pain on pulling the wax layer from your skin. In the hard wax, beeswax and rosin are mixed together as the basic solution. Apart from this, to reduce allergies and other sorts of irritation, you can also add essential oils, Vitamin E capsules, and others.
In this mix, you need to take rosin in four parts while the beeswax needs to be present in one part. For smoothening the mixture, you can add a tablespoon of extra virgin olive oil or solidified coconut oil. Sometimes, hard wax can get frozen. If that’s the case, you need to melt it first by warming it, and then apply on your skin.
Applications: Sensitive body parts with small hair coverings
2. Soft wax
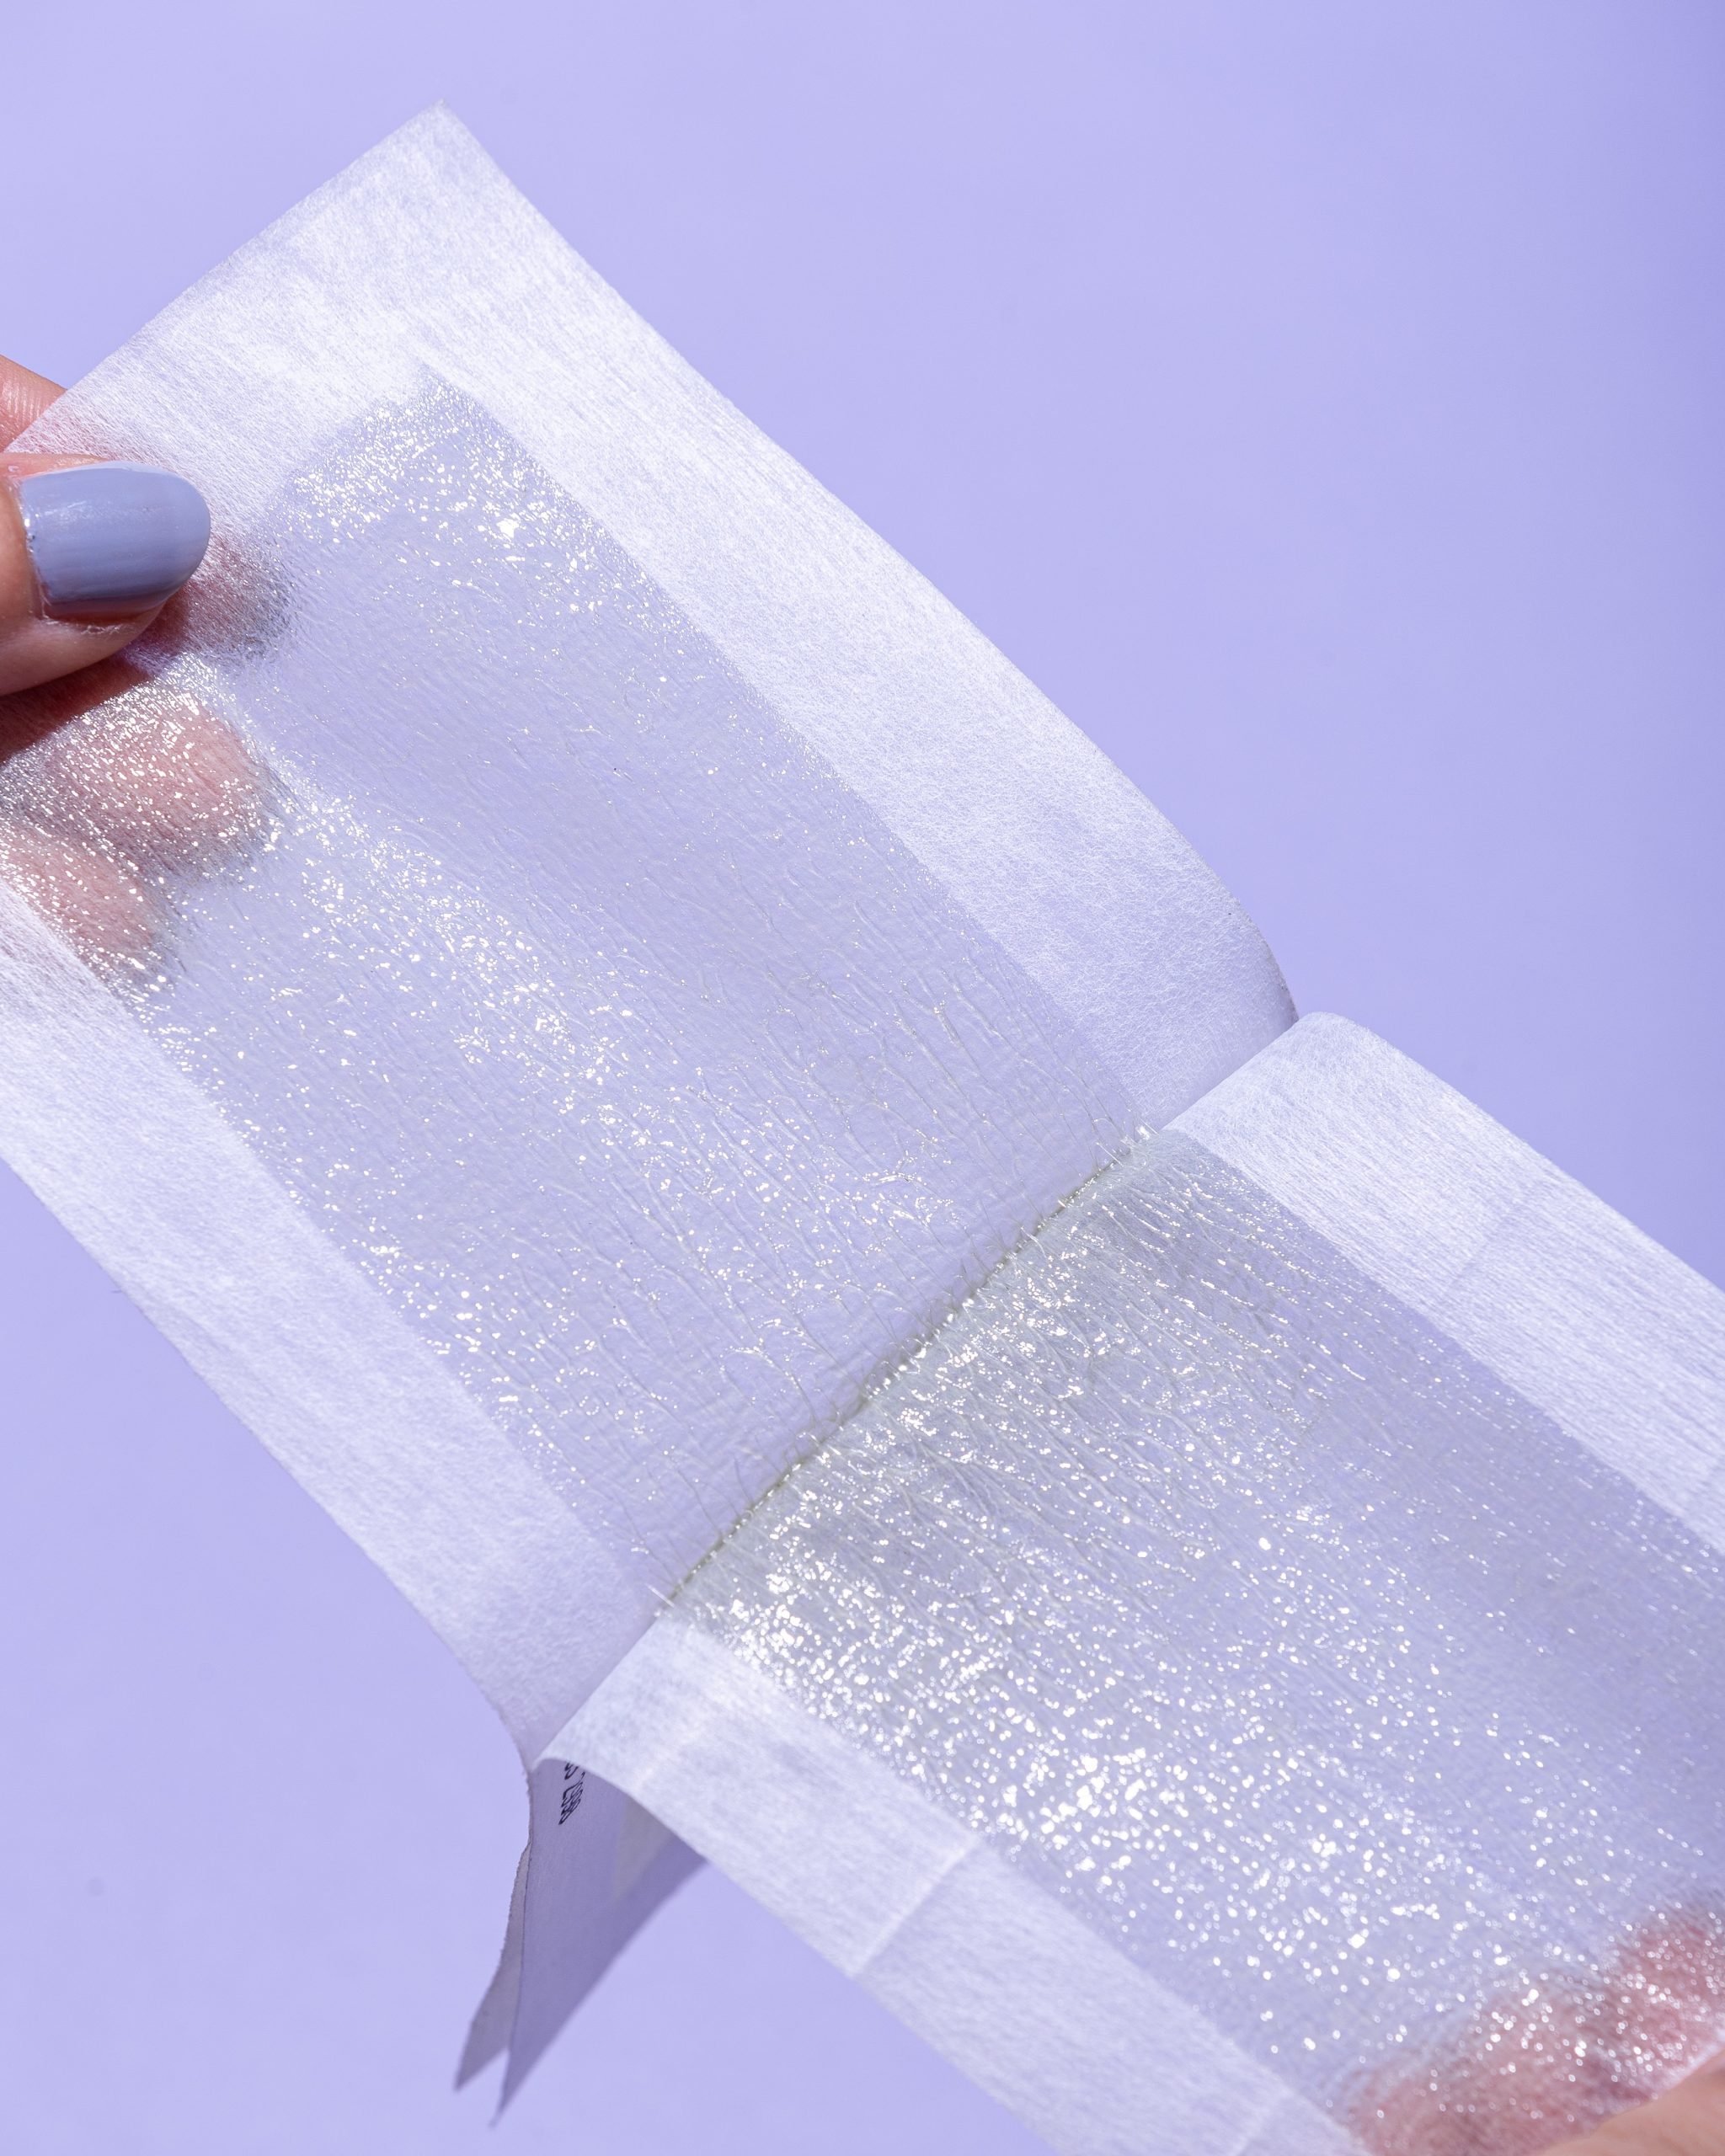
Soft wax has the same constituent list as compared to hard wax, like rosin, vitamins, softening oil, and beeswax. However, the ratio of rosin to beeswax is different. Moreover, often people mix water with the mixture to make it thinner. Once you will apply the soft wax mix on your skin, put the wax strips on top and after a couple of seconds, pull it off in the opposite direction.
3. Sugar wax
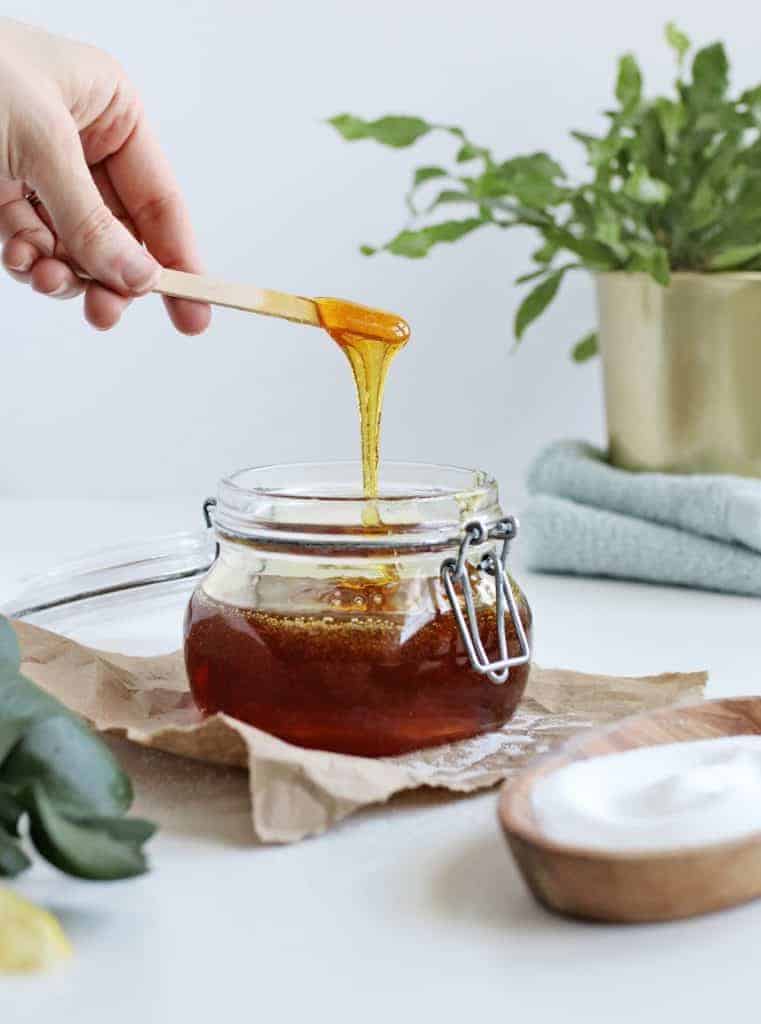
Sugar wax is one of the most popular waxing mixes that you can use for removing your body and facial hair. Make sure to get the medium-sized sugar granules as they can easily get dissolved with other ingredients. In addition to this, you will also need some water and a little amount of lemon juice. While preparing the sugar wax, you will have to ensure that heat must be added constantly at medium flame till you get a caramel colour.
Application: Ideal for all skin types and both for larger and smaller hair patch areas.
4. Fruit wax
As fruits are rich in vitamins and antioxidants, they are ideal for those who want to avoid irritations and redness of the skin after the completion of the process. For this, either you can use the fresh fruit slices after mashing them or use the fruit powder in the dry form. You can use both the hard wax and soft wax with the fruit ingredient as per your skin’s requirement.
Application: Can be applied on spots and marks with high sensitivity
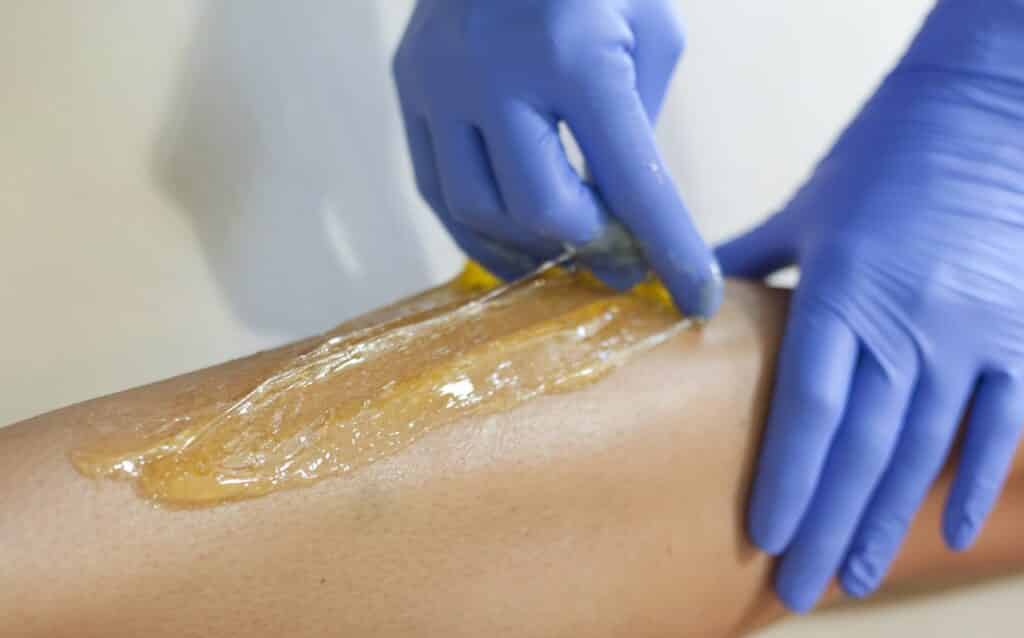
5. Honey wax
For preparing the honey wax, you can use any of these three methods:
- Hard wax mixed with fresh honey
- Soft wax mixed with honey only
- Sugar wax coupled with honey and lemon juice
Honey has anti-microbial properties which will help in cleaning your skin and reducing any kind of infectious disease. Also, as it has anti-inflammatory properties, you won’t have to worry about inflammations and redness of your skin after you are done with pulling the strips off.
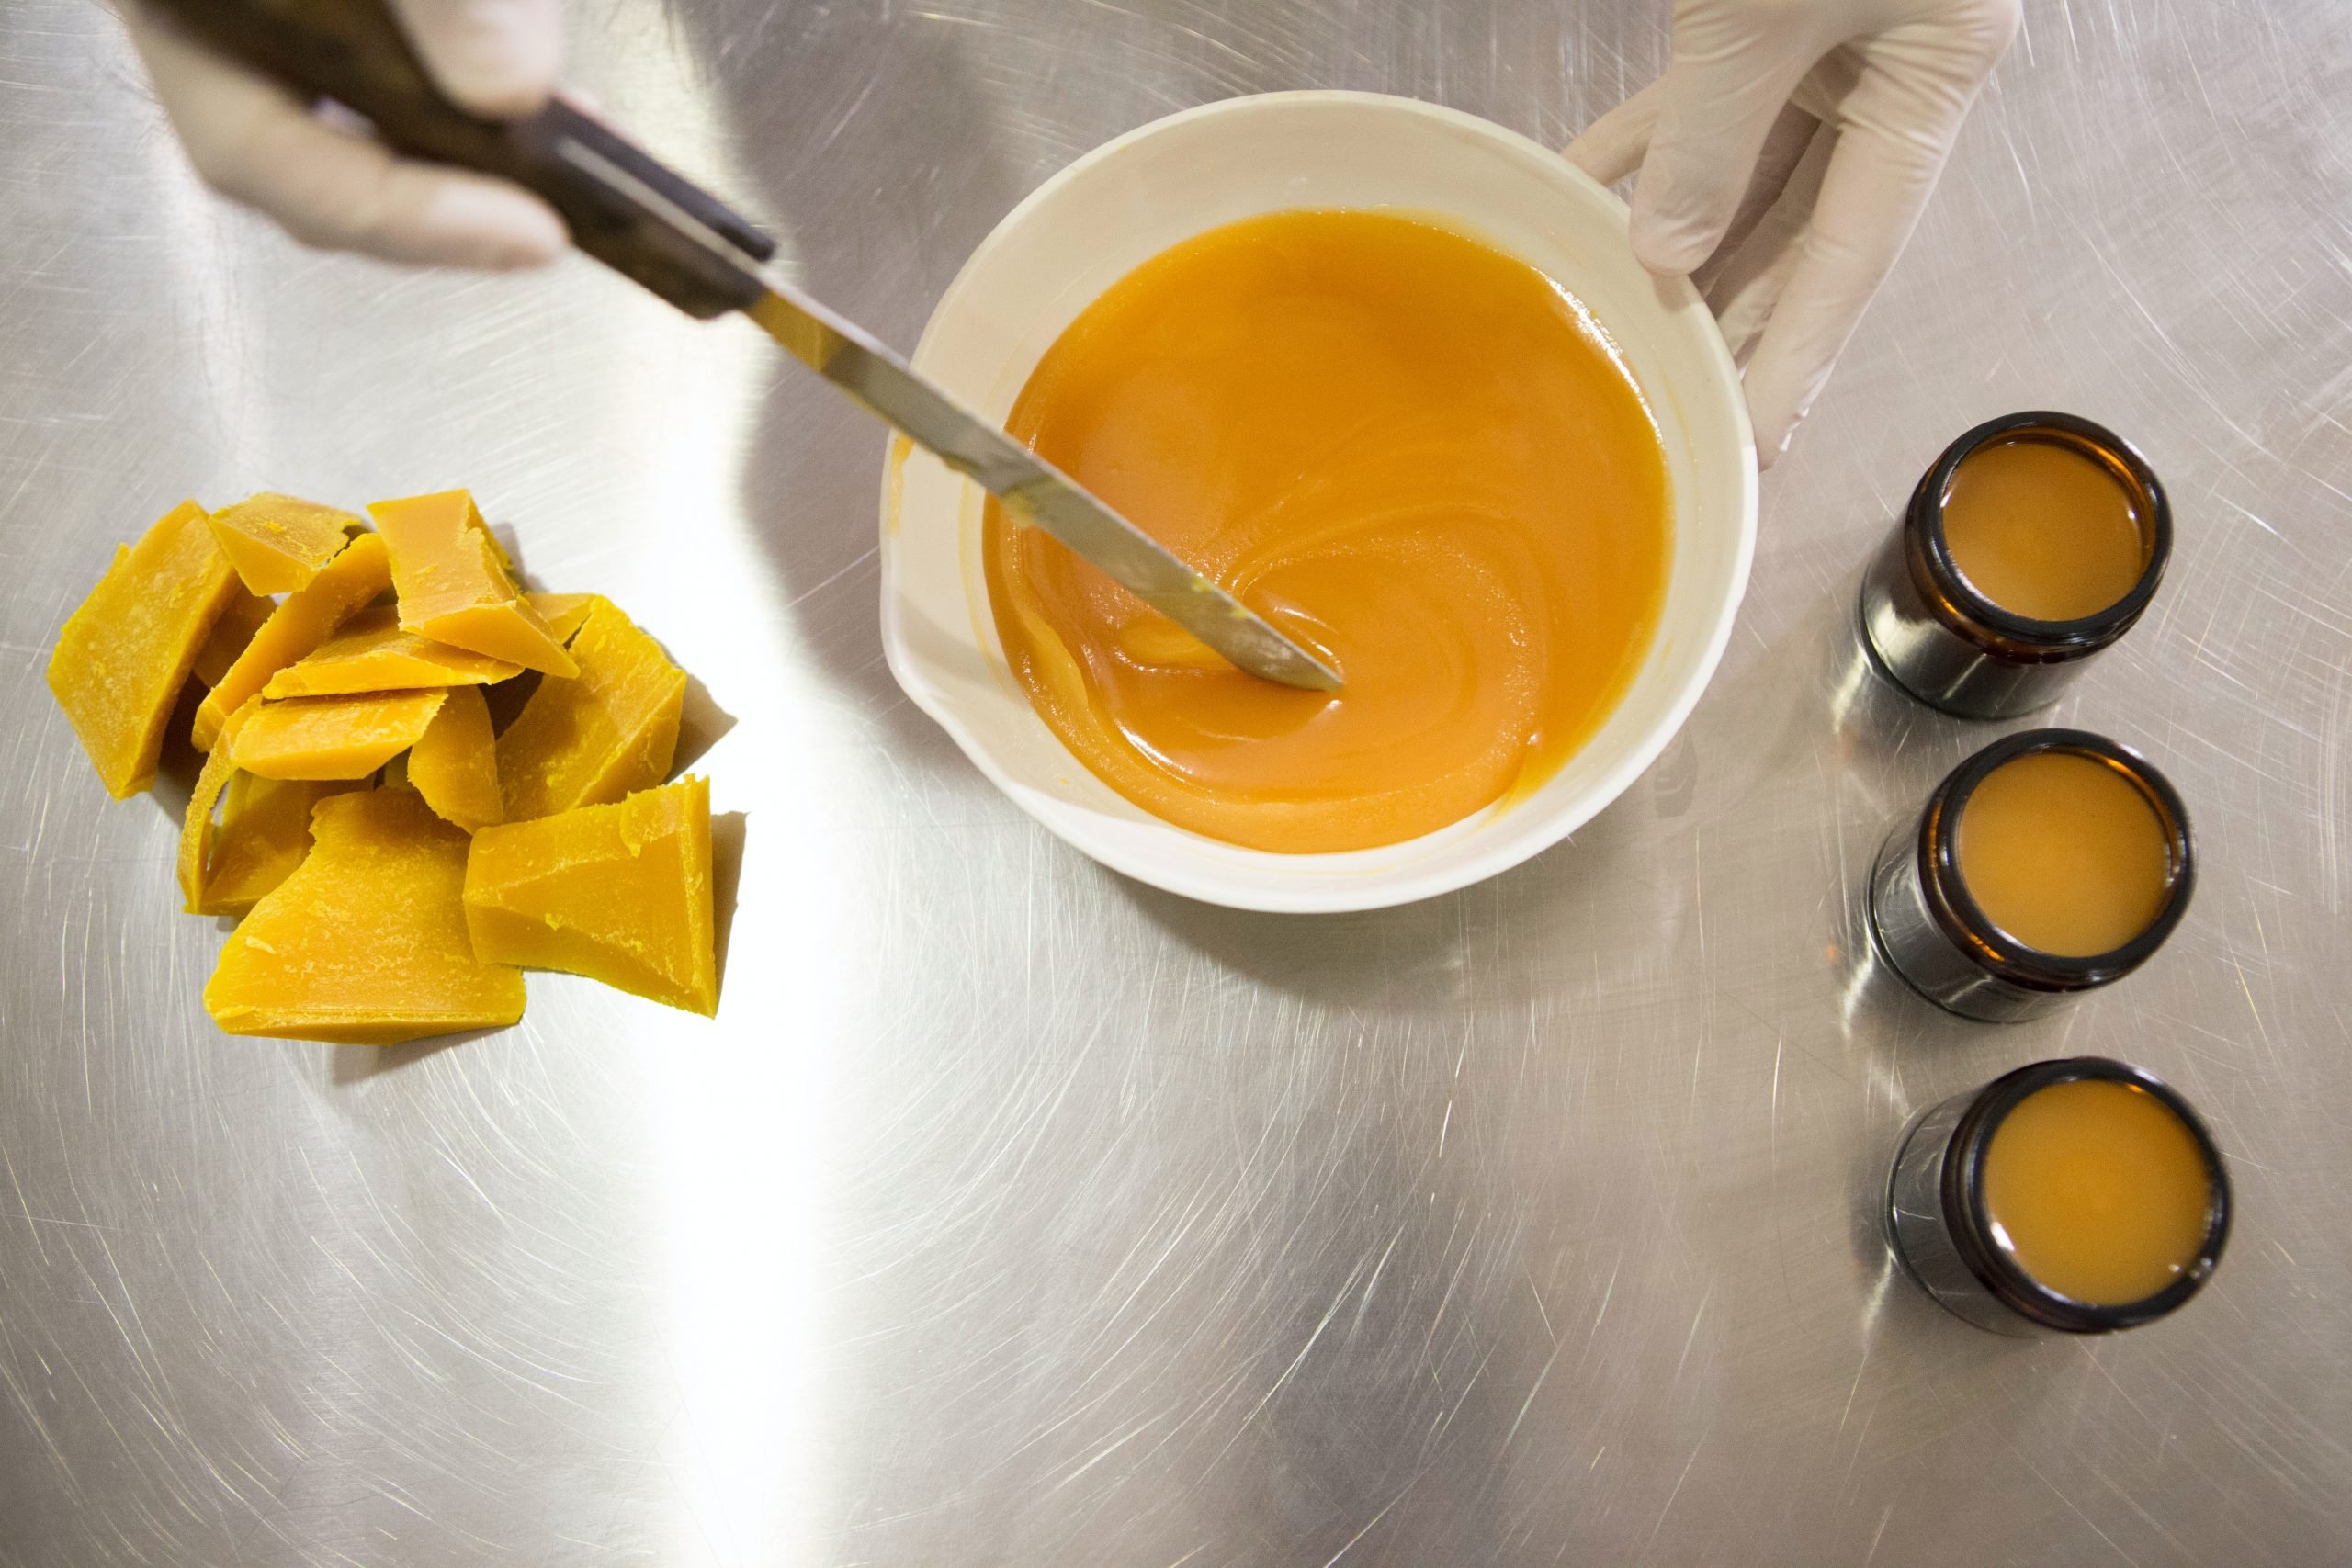
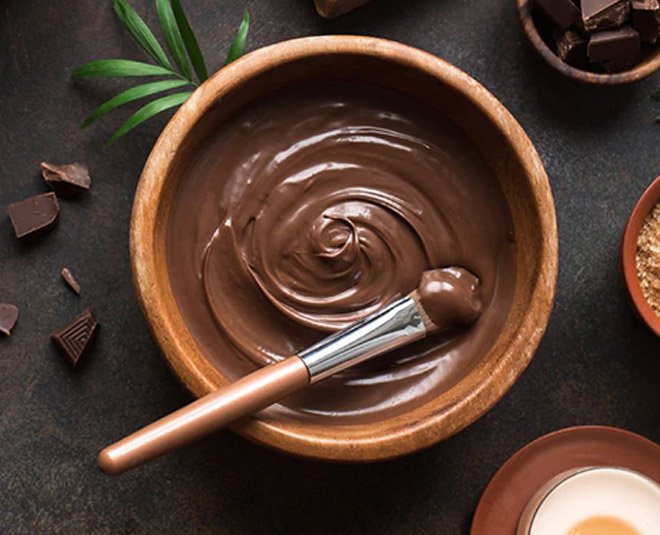
6. Chocolate wax
Lastly, people are also using coffee grounds, beeswax, along cocoa powder to make a wax mixture. Both the coffee grounds and cocoa powder have high levels of antioxidants which will help your skin to become healthier and shine.
How to use the DIY wax strips at home?
As the concept of making the DIY wax strips at home is quite new to us, it’s expected that you wouldn’t have any idea about using the product. This is why here we have explained the process of using the strips to remove hair at your home only.
- Prepare the wax solution and make sure to melt it as soon as the wax starts to harden.
- Once done, check the temperature and then, using a spatula, spread it on your skin.
- Make sure to spread the wax mix evenly such that when you will pull the strip off, the hair shafts must get snapped from their root bases.
- Allow the wax mix to soak into your skin and then you can easily use the strip to remove the layers.
Benefits of using homemade wax strips
Now you must be wondering that when you can get a ready-made waxing product from the salons and parlours, why should you make one at your home, especially the strips!
Well, this is because using a homemade wax strip is far more efficient than the store-bought ones. Here are some of the major advantages that the DIY wax strips can provide you.
- The homemade DIY waxing strips are safe to use as they wouldn’t cause any irritation or inflammation with proper aftercare.
- Except for the beeswax and rosin, every other ingredient will be available at your home. Hence, you won’t have to spend a lot of bucks to get the wax ready and remove your body and facial.
- It can be done any time and hence, no need to cancel your salon appointments frequently.
Conclusion
To be very honest, people usually prefer to use normal waxing products in their homes. But, these products are not efficient and also have adverse consequences. This is why it’s best to make your own waxing mix and use the DIY strips to remove the body and facial hair without any difficulty.
Also Read: Try These Glycerin Face Masks to Soften your Skin
